- April 13, 2020
- 0
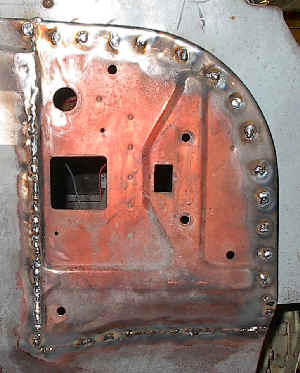
After some careful trimming, and fitting we were able to get the new piece to fit. We did end up with a large gap toward the top of the patch, and we had to use thin piece of metal to bridge it. As you can see we had our work cut out for us. Lots of tack weld holes to fill, and a couple of long weld runs. Once we were happy with the fit we used several vise grips to hold the piece in place, and then we proceeded to tack weld the piece in place.


The secrets to welding any panel is patients, making sure you weld are is free of paint, or any debris and you are working on bare metal. Also you want to use a series of tack welds on and use a low amp setting on your welder. Do not overwork the same area. Tack weld in different areas to prevent overheating the metal causing it to distort, or get so hot that you blow holes through it with your welder.

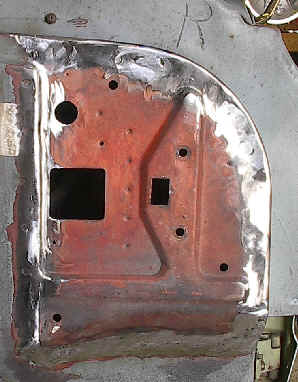
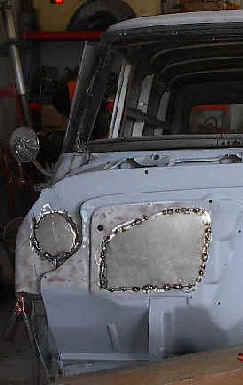
Once you have finished tack welding, then it is just a matter of grinding, and sanding the welds flush with the surface of the work area. This job in itself is very time consuming, because once you grind everything smooth you will inevitably find pin holes that you will have to go back and fix. As you can see we still have a little more work to do to make this modification perfect, however you get the idea. There isn’t any filler in this at all.
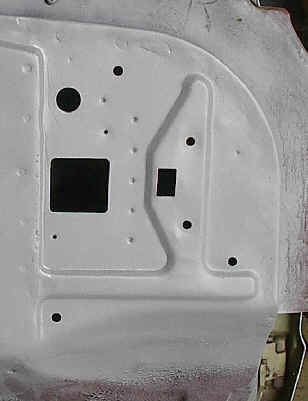
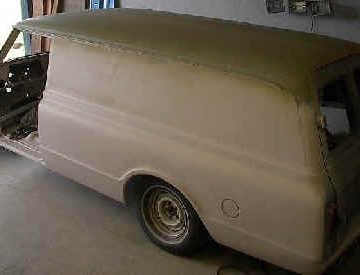
Full shot of the firewall.
An “Old Air Products” aftermarket A/C system is in this projects future. We decided to go with this product because they are the company that reproduces most of the original air replacement parts, so their systems are easily adapted to an original air system. We also are a dealer for them. Click Here for more information about this product. That is not to say that we didn’t have some major modifications to prepare for this modification. Our Panel did not come with the original A/C option when it was built, so we have lots of modifications to make.
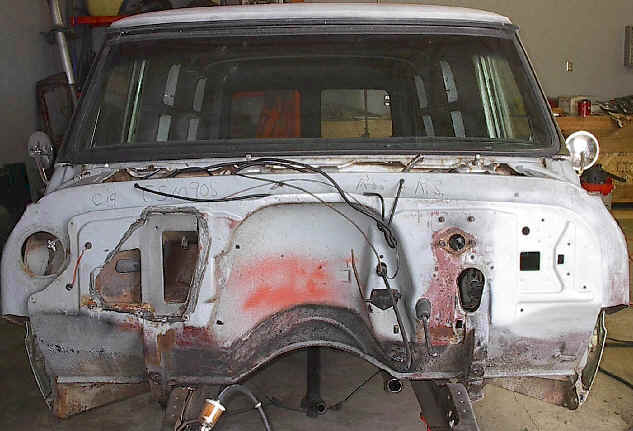
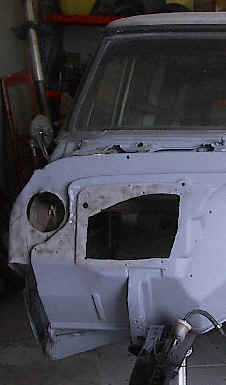
The first modification we had to make was to shave the firewall where the original heater housing was. Above you see how it looked originally, below left is cutting the openings to prepare the patch that was made to weld in on the right. We use the same method to weld in the patch that we used in the previous firewall modification and will finish it at a later point once we get the template for the holes we need to cut so the hoses can pass through the firewall.
- April 13, 2020
- 67 Panel Project
related posts