- April 13, 2020
- 0

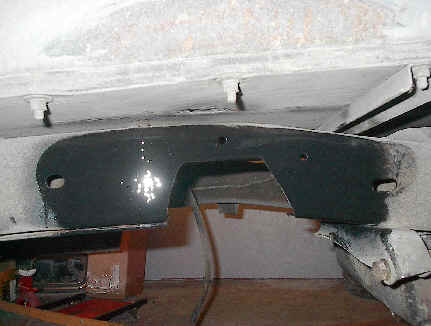
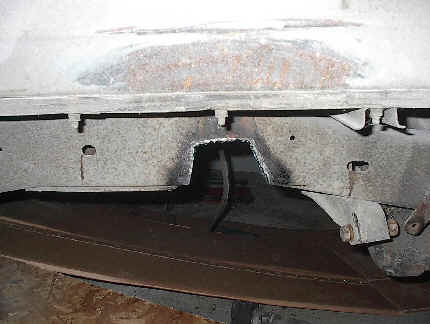
The next step was to cut the area out. When we cut it, we cut it small. We did this for a couple of reasons. 1.) Because we were using a cutting torch to cut it, and that leaves a ragged edge, so we needed room to grind it clean. 2.) Because we only wanted to remove what was necessary to fit the reinforcing bracket in place. It took us a couple of extra hours to do it that way, but it is easier to grind out material than try to replace any if we would have cut it too large. The second picture shows the area after we cleaned and painted it. We had to do this at this point because I don’t like bare metal surfaces left unpainted. Water will eventually get between the “C” notch bracket and the frame itself, causing rust to start if left unprotected, so this was an added precaution that is not necessary, but that we prefer to do.
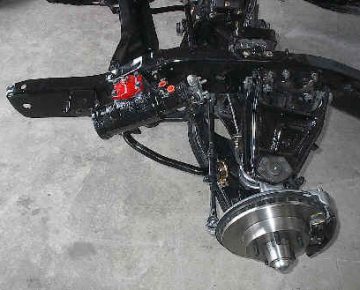
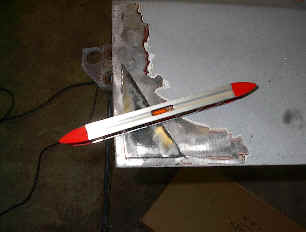
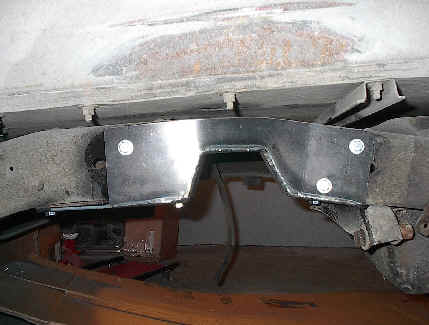
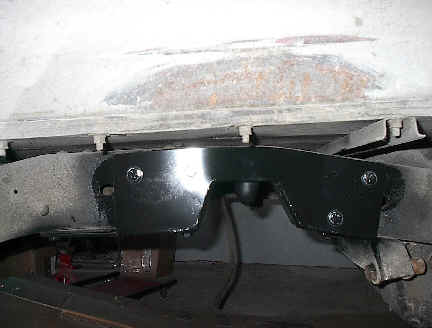
This is how the kit looked when we first installed it and then after we painted it and mounted the new polyurethane bump stop provided with the kit. For added strength this kit is constructed of 1/4″ steel plate and all hardware needed with instructions are also included. It fits the bends in the frame perfectly and the predrilled holes match the holes in the frame perfectly that are left when you remove the necessary rivets.
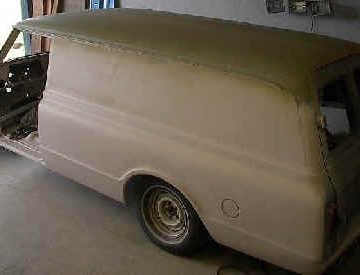
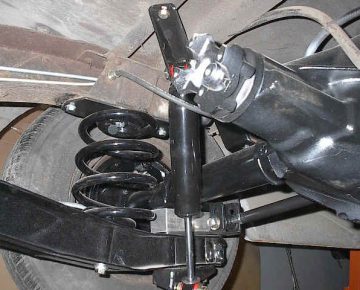
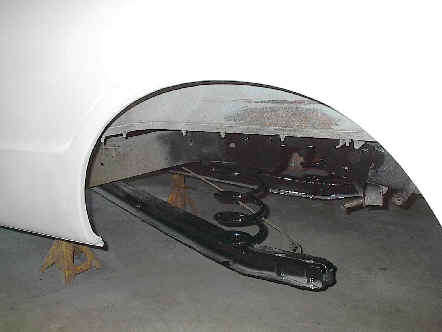
With the “C” notch kit in place we can start installing the components that we are using to lower the rear of our project. As you may recall from the previous page we are lowering our Panel 6″ in the rear. We decided on that because we want it to set level, and not with a 2″ rake like it came with from the factory. We are accomplishing this with 4″ lowering springs, and 2″ lowering blocks. There are a couple of reasons that we decided to do it this way. 1.) Because it saves as much spring possible for better ride quality and load capacity. 2.) Our lowering blocks come tapered to help with the rear end angles, so we will not have to shim it as much to achieve the optimum driveline angle of 2 degrees. Pictured right is the rear shock, top mounting brackets. These will have to be removed in order to install the new brackets that are supplied in our rear shock relocating kit.
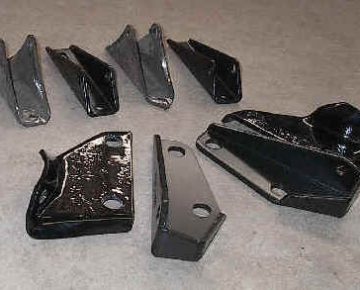
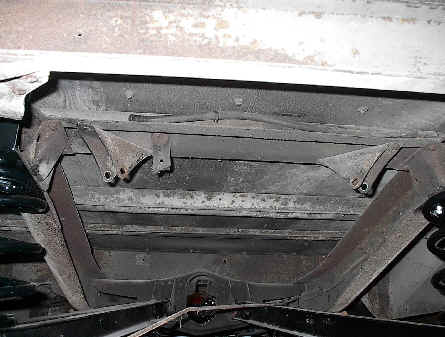
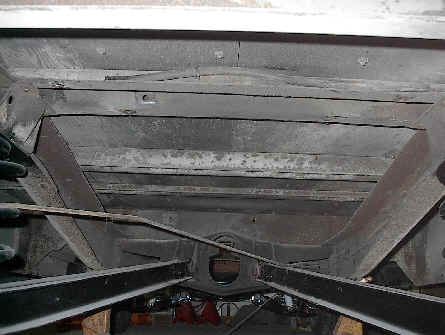
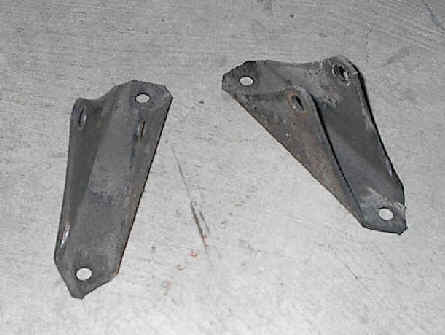
Pictured left is the top brackets removed in preparation for the new relocating brackets and right is the original brackets. We also removed what was left of an old exhaust pipe hanger.
- April 13, 2020
- 67 Panel Project
related posts