

- April 13, 2020
- 0
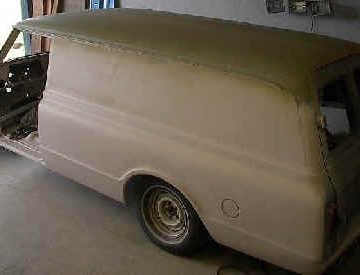
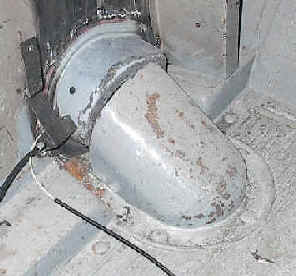
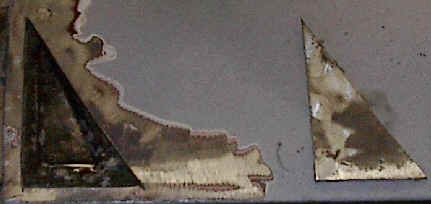
After giving it much thought we decided that we wanted to shave the stock gas filler, and install a fuel filler door in it’s place. We had been agonizing over what we wanted to do with it for several weeks prior to doing it. We didn’t want just any filler door. We knew that it had to be a round door because we felt that the lines on our Panel just did not lend itself to the square doors. We also did not want to have a finger slot to pull the gas door open, so that meant that it had to be remotely operated. Anyway after looking at many candidates we decided to use one from a 1986 Plymouth Voyager van. We like this one because it is remotely operated, and is also the smallest diameter one that we found.(5 1/2″) Anything larger we felt wouldn’t look write. The picture on the left is the Plymouth van gas filler pocket, and the one on the right is the original one on the Panel. Note the size similarity.
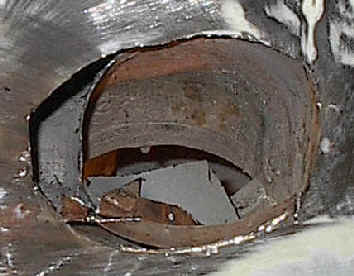
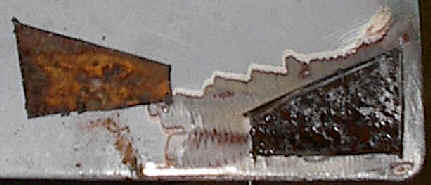
The picture on the left is the hole we cut into the side of our panel removing the original filler spot, and the one on the left is where the original filler tube passes inside it. As you can see we had to cut that housing also. You can also see the cables that allow the door to be remotely operated.
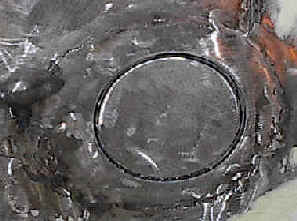
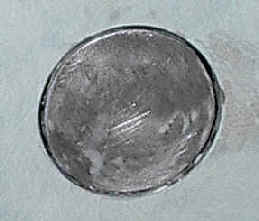
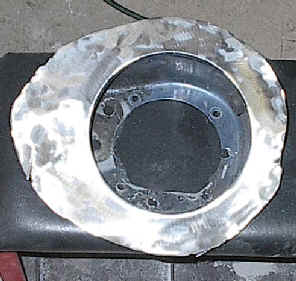
On the left the filler door is freshly welded in place and the welds are ground smooth. We didn’t show this entire process, because it is the same for this as it is for the other modifications we made. We cut it to fit, spot welded it in place being careful not to let it get too hot, and ground the welds smooth. Center is the filler door assembly mudded in and right is the door opened up to make sure that it still operates correctly.
Left is how it looked from a distance before we shot it with primer, and on the right is after. It is a bit difficult to tell by these pictures, but we think that it turned out pretty well.
Moving on to the doors we saw the tell tale signs of cancer rust on the bottom of the outer door skin. On the left is the lower front. As you can see in the piece that we cut out the tell tale pin holes in the effected area. This is a common area for these doors to rust out, because the back skin has a little pocket molded into it. This area will trap moisture and cause the metal to rust through from the back side. The shot on the right is the lower rear of the same door. It has a pocket similar to the front so the same thing happened to it. Once we cut the affected metal out we scraped and brushed as much of the rust out that we could, then sprayed it with “Rust Mort”. You can see what it does to the rust. Both sides were the same color as the little section that we cut out pictured on the right, but after we treated it the color turned black. That is the phosphoric acid in the product turning the left over rust into carbon, halting it’s spread, and not spread any farther.
- April 13, 2020
- 67 Panel Project
related posts